
Plant Prefab Junior ADU Conversion: The Burbank Owner’s Guide
Plant Prefab junior ADU conversion parts in Burbank typically run $340-$780 installed, depending on whether you’re replacing a single window/door module seal or a full utility chase connection assembly. We stock the common Plant Prefab junior conversion hardware on our truck and can usually complete the swap same-day if the unit is accessible. Most Burbank owners discover the problem when their converted junior ADU starts showing moisture intrusion at the original garage-to-living transition points, or when the mini-split line set begins cycling on pressure faults because the chase boot has pulled away from the Plant Prefab panel seam.
Which Plant Prefab Models This Applies To
Plant Prefab’s junior ADU conversion system, sold under their “LivingHome” line and specifically the garage conversion and interior conversion packages shipped between 2019 and 2023, uses a proprietary panel-to-panel gasket system at the floor and roof transitions. The critical identifier is the aluminum extrusion label stamped on the interior face of the wall panels, usually reading “PP-JADU-19” through “PP-JADU-23” followed by a regional code. Burbank’s inland valley climate zone typically received the “PP-JADU-XX-CA-IV” spec, which uses a wider thermal break than the coastal variant.
The OEM gasket is a dual-durometer EPDM with an embedded wire chase, manufactured for Plant Prefab by a third-party supplier that has since changed spec twice. We carry both the current OEM profile and a compatible aftermarket version from a commercial glazing supplier that matches the compression set of the original 2019-2021 production run. The aftermarket equivalent costs roughly 30% less and carries the same 10-year warranty, but it requires verifying your panel extrusion width, which varies by 3/16 inch between early and late production.
Here’s how to check: open the access panel at the utility chase, locate the stamped date code on the extrusion’s interior flange, and measure the gasket groove width with a standard tape measure. If it’s 7/8 inch, you have the early spec. If it’s 1-1/16 inch, you have the revised spec. We stock both gasket profiles and the chase boot assemblies that mate to them.
Signs Your Plant Prefab Junior ADU Conversion Is Failing
- Moisture staining at the floor panel joint. The original gasket compresses permanently after roughly 6-8 years in Burbank’s heat-cycling climate, losing its seal against the slab. Water wicks in during rare heavy rains or when irrigation oversprays the foundation line. We see this most often in Magnolia Park and the hillside zones below Verdugo Mountains where drainage patterns concentrate against the garage face.
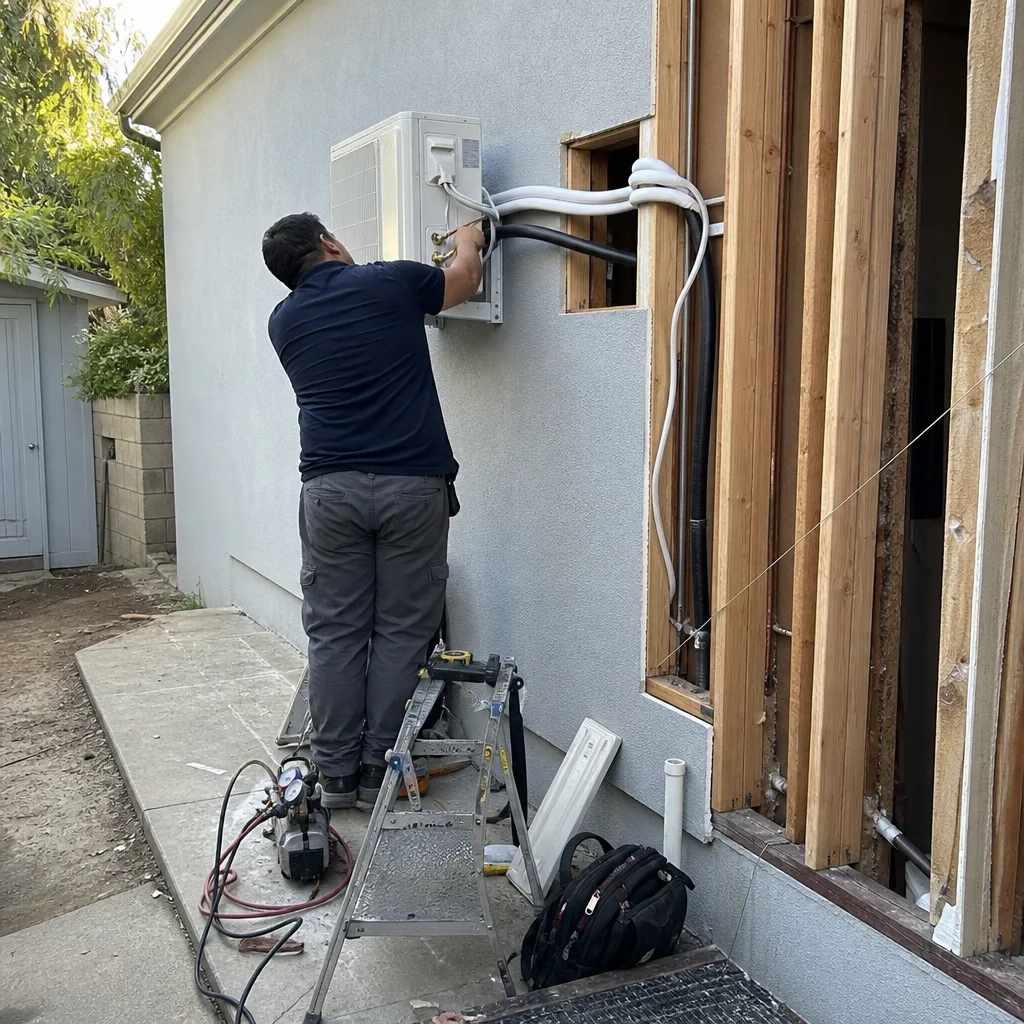
- Mini-split pressure faults or refrigerant loss. The line set chase boot uses a split-grommet design that relaxes over time. Once the seal loosens, the vibration from the condenser wears through the insulation, and the system throws a low-pressure lockout. The fix is the boot assembly, not a refrigerant top-off, but most HVAC techs miss the root cause on their first visit.
- Visible daylight through the roof panel gap. The ridge-to-panel connection on junior conversions uses a foam-backed tape that degrades faster than the wall gaskets due to UV exposure through the small ventilation gap. This is the failure point that lets attic heat dump into the conditioned space and drives up cooling costs in Burbank’s August-September peak.
- Interior trim pulling away from wall panels. As the gasket compresses unevenly, the panels shift microscopically. The finish trim, which is surface-mounted over the panel joints, telegraphs this movement as gaps or popped fasteners. It’s cosmetic until it isn’t, because the gap becomes the path for pests and exterior moisture.
- Utility chase cover won’t seat flush. The plastic chase cover clips into a receiver molded into the gasket. When the gasket distorts, the cover sits proud of the wall surface, or the clips break from repeated reseating attempts. A broken clip means the cover will eventually fall away entirely, exposing the line set and electrical stub to weather and curious raccoons.
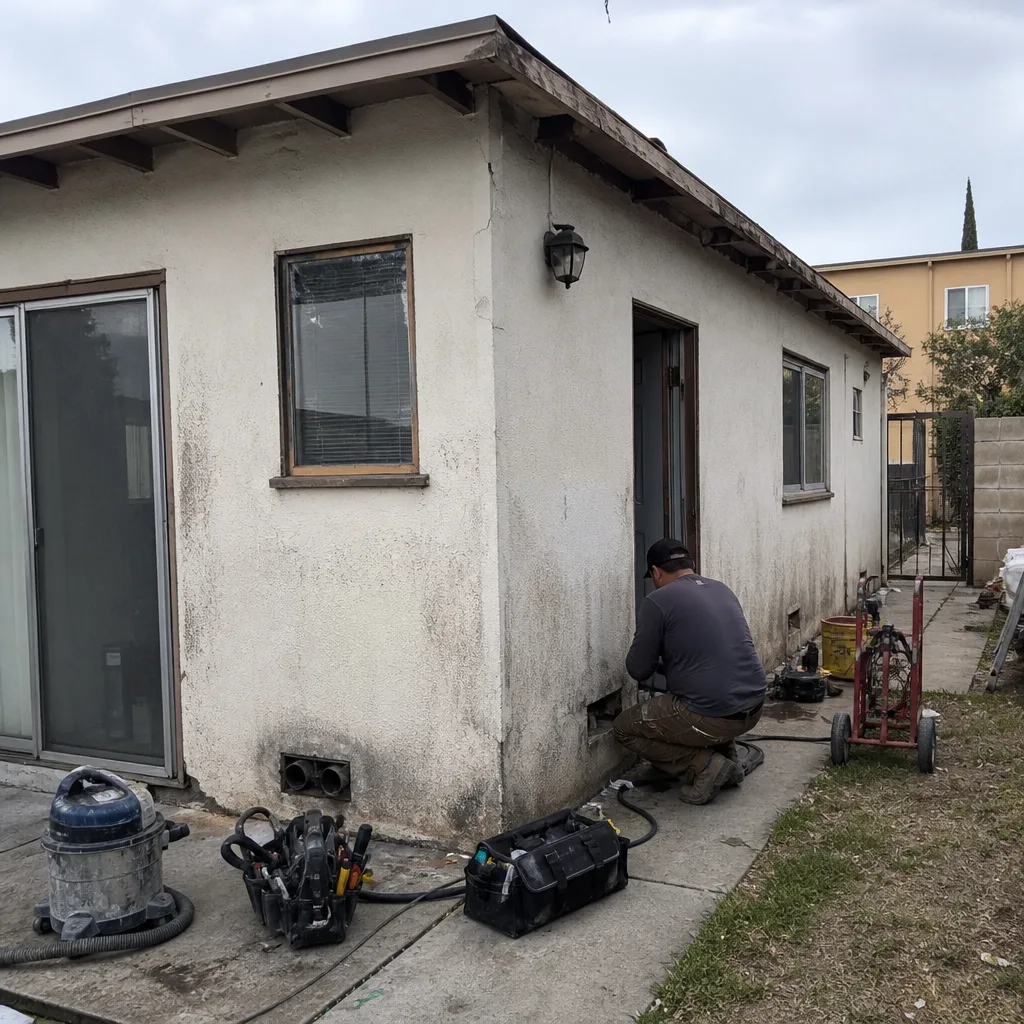 Before
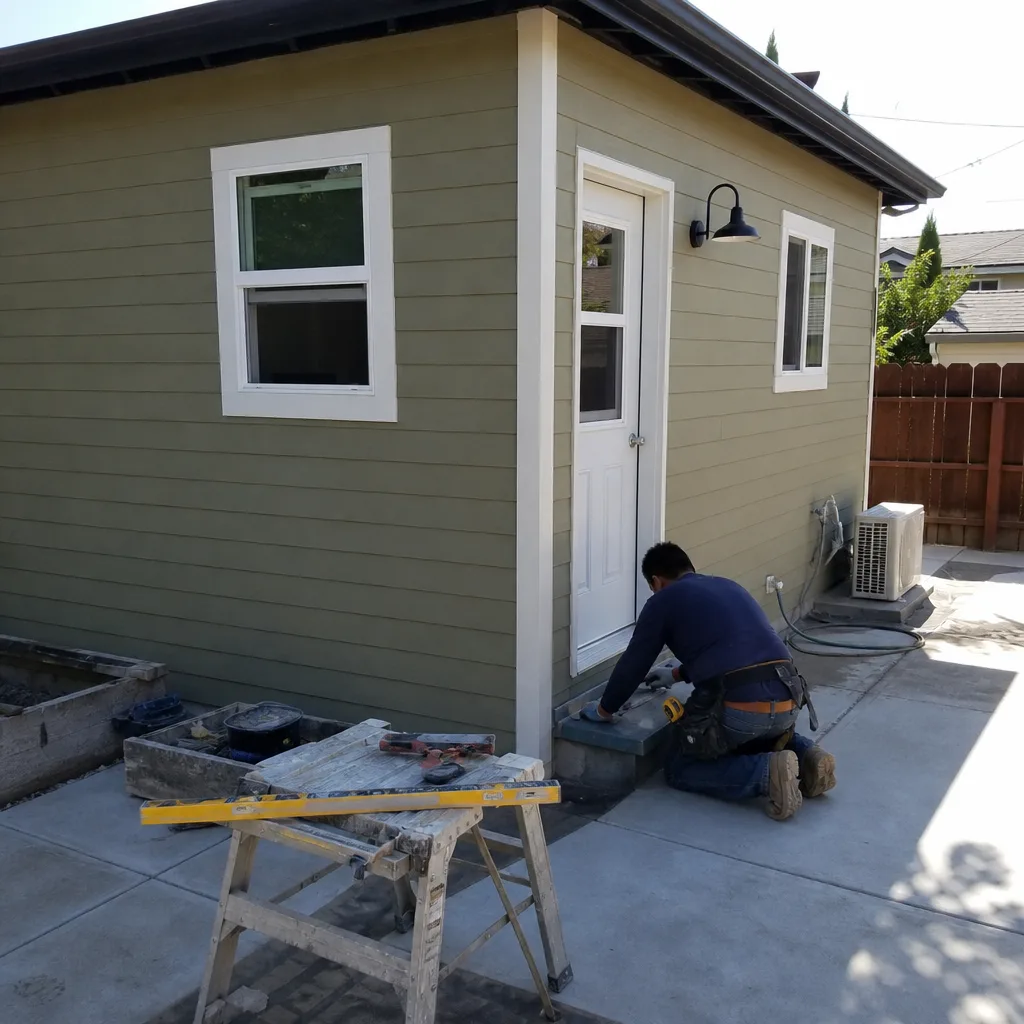 After
AfterReplacement Cost & What’s Included
| Component | Typical Range (Burbank) | What’s Included |
|---|---|---|
| Wall panel gasket, single run (up to 20 LF) | $340-$480 | OEM or aftermarket gasket, removal of existing compressed material, surface prep, new gasket installation, sealant at terminations |
| Utility chase boot assembly | $420-$620 | Boot, grommet set, compression clamps, mini-split line set inspection for wear, re-insulation if needed |
| Ridge panel tape replacement | $380-$540 | UV-stable foam tape, primer, application, verification of ventilation gap clearance |
| Full transition seal package (all three) | $780-$1,120 | Complete gasket, boot, and tape replacement, documented photo record, 365-Day Done Right Promise per Haven Standard Clause 7 |
The range depends on three factors: accessibility (is the unit packed tight against a fence or hillside?), whether the original fasteners are corroded and require extraction, and whether the mini-split line set has already suffered abrasion damage that needs addressing beyond the boot itself. Under Haven Standard Clause 1, the written price you receive before work starts is the price you pay. No change orders for conditions we can observe during the initial site visit.
Every replacement includes our documented photo record, emailed to you the same day, showing the condition of the removed part and the installed replacement. The gasket and boot assemblies carry a 10-year material warranty; our labor is covered by the 365-Day Done Right Promise, backed in writing before the project starts.
DIY or Call Us?
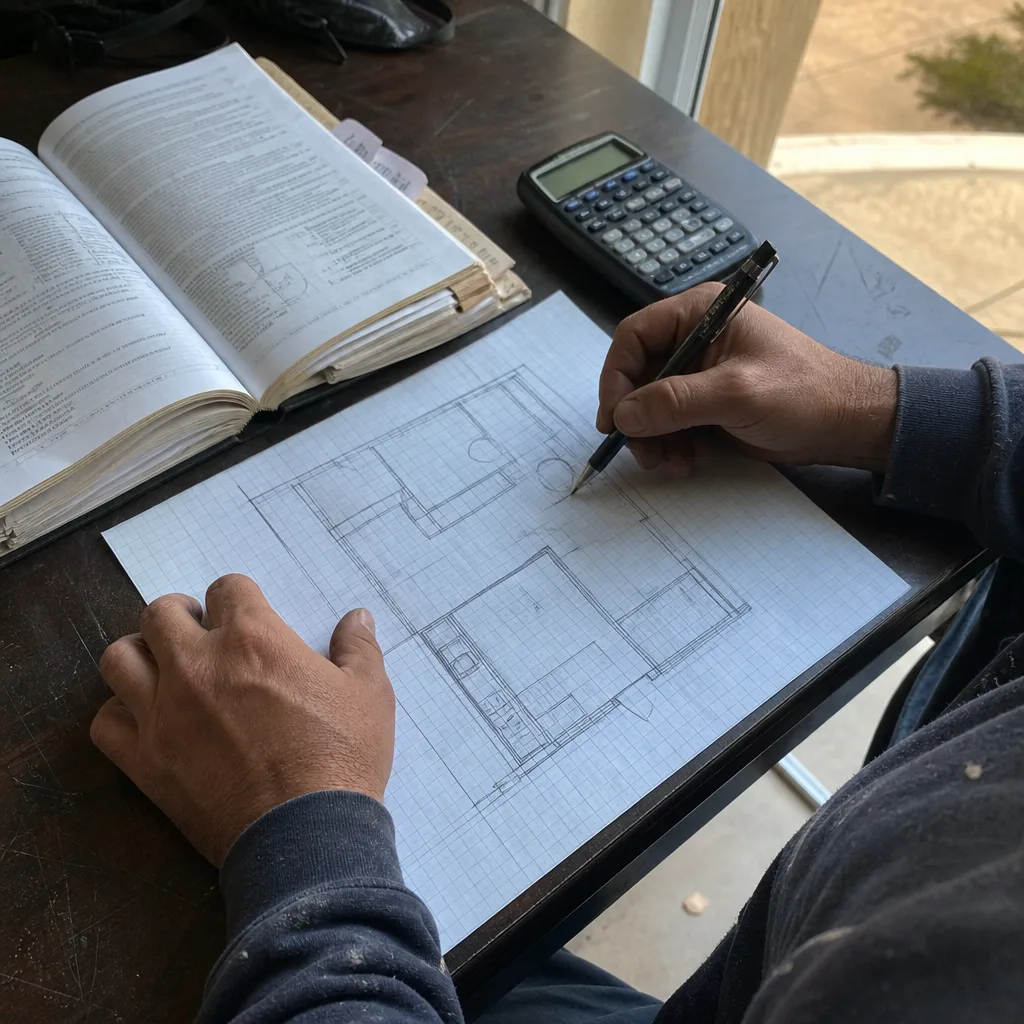
There’s a clear line here, and it’s worth stating plainly. A homeowner can safely remove the utility chase cover and photograph the date code and extrusion width, which is what we need to confirm parts compatibility before we dispatch. You can also check for visible moisture staining or daylight gaps, and note whether your mini-split is throwing specific error codes, which saves diagnostic time.
What you should not attempt: removing the compressed gasket from the panel groove, which requires a specific hook tool to avoid scoring the aluminum extrusion, or disturbing the mini-split line set connections, which contain refrigerant under pressure and require EPA certification to handle legally. The ridge tape replacement involves working at height on a sloped or flat roof transition, which is where most DIY attempts on these conversions end with a call to us anyway, plus a damaged panel edge that now needs more than a gasket.
We’re an independent service provider, not affiliated with Plant Prefab. We specify and coordinate their systems within our single-contract design-build model, but we don’t represent the manufacturer. If you’re seeing symptoms, call (747) 322-4648 and we’ll schedule a site visit with a written price before any work begins.
FAQs
In Burbank’s inland valley climate, with 40-50 degree daily temperature swings common from May through October, the original EPDM gasket typically compresses beyond recovery in 6 to 8 years. The ridge tape fails faster, usually at 5 to 7 years, due to UV exposure. Call (747) 322-4648 for an exact quote on replacement - estimates are free.
No. Once an EPDM gasket has taken a compression set, it cannot rebound to its original profile. Surface-applied sealant or tape is a temporary patch that traps moisture against the panel joint and accelerates corrosion of the aluminum extrusion. Replacement is the only proper repair. Call (747) 322-4648 for an exact quote - estimates are free.
A single gasket run or chase boot replacement takes 2 to 3 hours on site. The full transition seal package, including ridge tape, typically requires a full day. We schedule Burbank permits if the work touches the envelope in a way that requires inspection, which is rare for gasket-only replacement but standard when the ridge tape is involved. Call (747) 322-4648 for an exact quote - estimates are free.
We stock both gasket profiles and the chase boot assemblies on our truck for Burbank calls. The ridge tape is cut to order from bulk roll because lengths vary by roof configuration, but we carry the correct UV-stable spec and can complete that portion same-day as well. Call (747) 322-4648 for an exact quote - estimates are free.
The number goes on paper first. Everything else follows from that.
Ellery ADU Studio has operated as a design-build studio since 2015, offering ADU Design & Permitting, Garage Conversion ADU, New Detached ADU, Junior ADU & Interior Conversion, and ADU Site Prep & Utilities under one contract at one written price. Nadia Ellery grew up in Santa Monica, studied architectural drafting and construction technology at Santa Monica College, and has spent the better part of two decades learning what actually goes wrong between a permit set and a final inspection. Her crew has pulled permits and framed units in Burbank’s Magnolia Park neighborhood as often as anywhere else in the city.
Written by Nadia Ellery, Owner, Ellery ADU Studio Burbank at Ellery ADU Studio Burbank, serving Burbank and nearby areas.